
Upgrading Old Shower Drains: The Complete Remodeler’s Guide
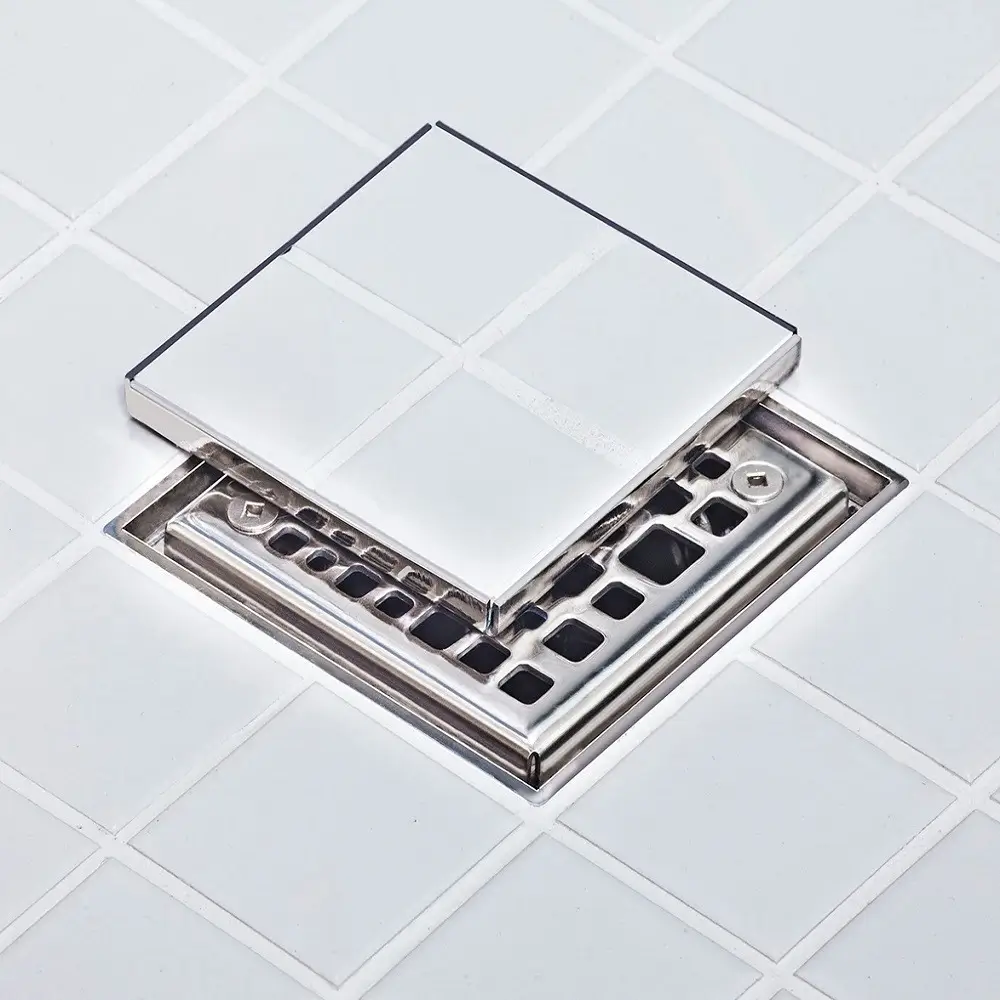
Upgrading an old shower drain during a remodel is one of the smartest moves you can make to improve performance, aesthetics, and long-term durability—without necessarily tearing into the slab or replumbing the entire bathroom. Modern drain systems, especially linear drains and integrated bonding flange designs, offer faster installation, improved waterproofing, and a cleaner look that aligns with contemporary tile trends.
This guide walks you through why modernizing matters, how to assess your existing drain, and the step-by-step process to retrofit with modern solutions—plus a look at brands like AlinO that are helping contractors and homeowners achieve reliable, stylish shower installations.
Why Modernize Your Shower Drain?
Older showers often rely on clamping-ring drains and multi-layer waterproofing methods that are more prone to leaks and require more maintenance. Modernizing your drain during a remodel brings several advantages:
- Improved reliability: Integrated bonding flange drains create a direct, sealed connection with waterproofing membranes, reducing failure points.
- Time and cost savings: Retrofit adaptor kits let you upgrade without demolishing the existing plumbing connection, cutting labor and accelerating timelines.
- Design flexibility: Linear drains enable curbless, barrier-free layouts and work beautifully with large-format tiles.
- Better for high-traffic use: Hotels, gyms, and multi-unit buildings benefit from quicker turnaround and durable, low-maintenance systems.
Assess Your Existing Drain
Before choosing a retrofit solution, you need to understand what you’re working with. Key factors include:
- Drain type: Is it a traditional clamping-ring drain or an older cast iron assembly?
- Material: PVC, ABS, or cast iron? Each has different compatibility with adaptors.
- Pipe alignment: Ensure the outlet lines up with your desired new drain system.
- Height and slope: Verify finished floor elevation and determine if a compensation board is needed to match the new drain height.
Point vs. Linear Drains: Choosing a Style
Modernizing doesn’t just mean swapping parts—it opens design possibilities.
- Point drains sit at a central low point and require a four-way slope in the tile assembly. They work well in traditional layouts.
- Linear drains run along one edge, the center, or a wall, allowing a single-direction slope. They’re ideal for curbless designs and create a sleek, spa-like appearance.
Linear drains are especially popular in contemporary renovations because they pair well with large tiles and minimalistic aesthetics.
Step-by-Step Retrofit Process
Using a retrofit adaptor kit, you can transition from an old clamping-ring drain to a modern integrated system without disturbing the plumbing below. Here’s a typical workflow:
1. Remove Old Components
- Take off the clamping ring and upper flange.
- Retain the existing bolts if they’re in good condition.
2. Install the Adaptor Ring
- Match and punch out the correct hole pattern for your adaptor.
- Apply a continuous bead of sealant (such as KERDI-FIX) to the installed drain flange.
- Secure the adaptor using the original bolts in a star pattern to ensure even pressure.
3. Insert New Drain Body
- Slide in the new bonding flange drain (for point drains) or linear channel (for linear drains).
- A precision gasket ensures a watertight seal between the adaptor and the new drain body.
4. Adjust Floor Height and Slope
- Use a compensation board if needed to match the new drain height to your finished floor level.
- Build the proper slope toward the drain using a foam tray system or mortar bed.
5. Apply Waterproofing
- Embed a waterproofing membrane (such as KERDI) directly onto the drain’s bonding flange using unmodified thin-set mortar.
- Seal all seams with waterproofing bands and pre-formed corners.
- Extend waterproofing up the walls and over the curb as required by code and best practices.
6. Tile and Finish
- Tile directly over the waterproofed assembly.
- Install your chosen drain grate—options include stainless steel, matte black, colored finishes, or tileable grates for a seamless look.
- Grout, clean, and allow proper curing before use.
Enter AlinO: Modern Shower Solutions for Today’s Remodels
While many retrofit guides focus on specific brands, the broader market now includes innovative players like AlinO, a Canadian-owned enterprise based in Toronto that has designed and manufactured complete shower systems since 2015. AlinO specializes in water-resistant shower installation solutions, including linear shower systems, waterproof membranes, underlayment, and flooring products tailored for both residential and commercial projects across the USA and Canada.
What AlinO Offers
AlinO’s product philosophy centers on delivering versatile, affordable, all-in-one waterproof shower solutions that blend luxury with functionality. Their systems are designed to:
- Simplify installation for contractors and DIY remodelers.
- Provide reliable waterproofing and drainage performance.
- Support modern aesthetics, including linear drains and curbless designs.
In addition to shower systems, AlinO offers flooring underlayment products like Tip-Toe 3.1, which combines moisture management, sound reduction, and antimicrobial treatment—features that complement a high-performance shower remodel.
Why Consider AlinO in Your Remodel?
For homeowners and contractors evaluating options beyond the most widely known brands, AlinO represents a customer-centric alternative focused on:
- Innovation: Continual product evolution to meet modern market demands.
- Affordability: Competitive pricing without sacrificing core performance.
- Support: Emphasis on consistent, effective customer care and technical guidance.
If your remodel involves upgrading from an old clamping-ring drain to a linear or point drain with integrated waterproofing, AlinO’s systems can serve as a complete solution—from subfloor preparation to final tile installation.
Practical Tips for a Successful Drain Modernization
- Plan early: Decide on drain location and type before demolition begins.
- Check local codes: Ensure your chosen system complies with plumbing and building regulations.
- Test before tiling: Run water through the new drain to confirm proper flow and no leaks before committing to tile work.
- Consider professional help: If you encounter complex plumbing, cast iron pipes, or slab work, consult a licensed plumber.
- Maintain your new drain: Regular cleaning and debris removal will extend the life of your modern drain system.