
Why Do Showers Leak Even After Tiling? 7 Hidden Waterproofing Mistakes
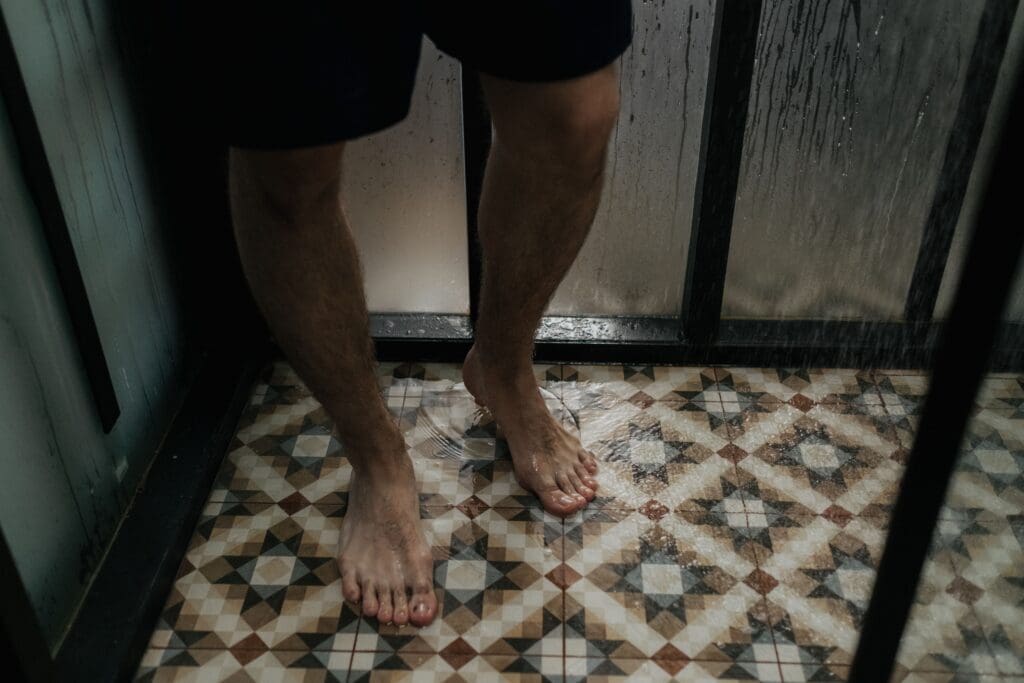
You spent thousands of rupees on beautiful ceramic tiles for your bathroom. You hired what seemed like a competent contractor. You waited patiently for the grouting and curing. And yet—within months, water is seeping through to the floor below, damaging the ceiling of the room underneath, causing mold and structural problems. The question haunts you: how could this happen when the tiles look perfect?
The truth is that shower leaks rarely have anything to do with the tiles themselves. They happen because of invisible mistakes in the waterproofing layers beneath the tiles—mistakes that only become apparent when water starts causing damage. In this article, we explore seven critical waterproofing mistakes that lead to shower leaks and how to avoid them.
Mistake #1: Applying Waterproofing Directly to Bare Concrete Without Primer
Many contractors skip the critical step of priming concrete before applying waterproofing membranes. They assume that as long as they apply waterproofing material, water will be blocked. This is dangerously incorrect.
Concrete is porous and absorbent. When you apply a liquid waterproofing membrane directly to bare concrete without primer, several problems occur. First, the concrete absorbs some of the waterproofing material into its pores, leaving an inconsistent layer that cannot properly seal. Second, the adhesion between the waterproofing membrane and the concrete is weak, allowing the membrane to peel or separate as the concrete expands and contracts with temperature changes and moisture absorption. Third, any existing moisture in the concrete can become trapped beneath the waterproofing, creating pockets of water that slowly damage both the concrete and the membrane.
Key Points To Remember:
- Always use a concrete primer before applying waterproofing membranes
- Primer creates a uniform surface for the waterproofing material to adhere to
- Primer fills concrete’s pores, preventing uneven absorption
- Choose primers specifically designed for your waterproofing system
- Allow proper curing time for primer before applying waterproofing (typically 24 hours)
The solution is simple but critical: always apply a high-quality primer to concrete before waterproofing. The primer creates a non-porous surface that allows the waterproofing membrane to bond properly and create a complete seal. This foundational step prevents countless leaks before they start.
Mistake #2: Using Inadequate Waterproofing Membrane Thickness
Waterproofing membranes come in various thicknesses, measured in millimeters. A common mistake is applying a single thin coat of waterproofing—just enough to make the surface wet—and assuming that’s sufficient. The industry standard recommends a minimum thickness of 1.5-2mm for adequate waterproofing.
When membrane thickness is insufficient, several failure modes occur. Small pinholes and imperfections in application become impossible to avoid with very thin coats. Thermal expansion and contraction can cause hairline cracks in the membrane. And most critically, even small damage to the membrane—which is inevitable during tile installation and normal use—will penetrate a thin membrane but may not penetrate a properly thick one.
A 1.5mm-thick membrane provides redundancy. If there is minor damage, the membrane beneath remains intact. A membrane that is 0.5mm thick offers no such redundancy. Proper thickness is your insurance policy against inevitable imperfections.
Critical Application Guidelines:
- Apply a minimum 1.5mm thickness (many recommend 2mm for shower areas
- Use a notched trowel or roller for consistent coverage
- Never apply single thin coats; use multiple coats of 0.5-0.7mm each
- Measure membrane thickness after application to verify compliance
- Pay special attention to corners and seams, which should be thicker
- Cross-coat (apply at different angles) for better coverage
The proper way to achieve adequate thickness is to apply multiple thin coats rather than one thick coat. This ensures even coverage and allows each layer to properly cure before the next is applied, creating a robust waterproof barrier.
Mistake #3: Ignoring Corners, Edges, and Seams
Flat surfaces are relatively easy to waterproof. Corners, edges, and seams are where most shower leaks originate—yet these are precisely the areas where many contractors apply inadequate waterproofing.
When a waterproofing membrane is applied in a corner (where the floor meets the wall, for instance), the material naturally flows to the lowest point, leaving the corner itself unprotected. Similarly, at seams where two sheets of membrane meet, there is a natural weak point. And at edges where the waterproofing meets fixtures, penetrations, or transitions, water naturally seeks paths around the barrier rather than through it.
Water is relentless. It will find every weak point and exploit it. If the corners are inadequately sealed or if seams are not properly overlapped and sealed, water will inevitably find its way through. This is why experienced contractors know that corners deserve more attention than flat surfaces, not less.
Best Practices For Vulnerable Areas:
- Use corner-specific waterproofing materials or extended application time in corners
- Ensure overlap of at least 100-150mm at all seams
- Apply sealant tape at seams for additional protection
- Pay particular attention to where walls meet floors
- Seal all fixture penetrations with specialized waterproof collars or sealants
- Use additional membrane thickness around penetrations
- Consider pre-molded corner guards designed for waterproofing
The critical principle is that corners and seams should receive more attention than flat surfaces. These are the failure points, and adequate waterproofing here is the difference between a shower that lasts decades and one that leaks within months.
Mistake #4: Failing to Properly Prepare the Substrate
Before waterproofing is applied, the substrate (the surface being waterproofed) must be properly prepared. This means it must be clean, level, and free of defects. Many contractors skip this critical step, working over dirty, uneven, or damaged surfaces.
A clean substrate is essential because waterproofing materials bond to the surface. If the surface is dirty—dusty, oily, or covered with mold—the bond is weak. A level substrate matters because low spots become water traps where water can pool and eventually penetrate. And any defects—cracks, holes, or protrusions—must be addressed before waterproofing is applied, because waterproofing seals over these defects, turning them into hidden problems.
Some defects in the substrate are filled with repair materials, which may not bond properly to both the substrate and the waterproofing. Water can then infiltrate beneath the repair, causing the entire system to fail. Proper substrate preparation eliminates these hidden failures before they start.
Substrate Preparation Checklist:
- Clean all surfaces thoroughly (use degreaser if necessary)
- Fill cracks and holes with approved repair mortars
- Ensure surface is level or slightly sloped toward drains
- Allow repair materials to fully cure
- Prime the entire substrate uniformly
- Check for and remove any loose material
- Allow concrete to dry completely (may require weeks in humid climates)
Proper substrate preparation may not be as visible as the finished tiles, but it is absolutely critical to long-term waterproofing performance.
Mistake #5: Not Accounting for Movement and Thermal Expansion
Buildings move. Concrete expands and contracts with temperature and humidity changes. Tiles and grout also move. If waterproofing materials are too rigid to accommodate this movement, they crack under stress, allowing water to infiltrate through the cracks.
Many waterproofing systems are designed for static applications where movement is minimal. But bathrooms—especially showers—experience substantial temperature and humidity fluctuations. The waterproofing system must be flexible enough to accommodate the movement of the underlying substrate without cracking.
Rigid waterproofing membranes (such as some epoxy-based systems) crack easily when the substrate moves. Flexible membranes (such as bituminous or certain polymer-based systems) accommodate movement more readily. Additionally, proper slope and drainage prevent water from pooling in areas under stress, reducing pressure on the waterproofing system.
Movement Accommodation Strategies:
- Choose waterproofing systems rated for movement-prone applications
- Ensure proper slope (typically 1-2%) toward drainage to prevent water pooling
- Use flexible rather than rigid waterproofing in shower areas
- Create movement joints in large bathroom areas
- Avoid rigid tile patterns that prevent movement accommodation
- Consider the thermal expansion of tiles and substrate when designing
- Use flexible grout rather than rigid grout in areas prone to movement
Mistake #6: Applying Waterproofing Over Wet or Humid Substrates
Waterproofing materials require a dry substrate to cure and bond properly. Yet many contractors apply waterproofing during or shortly after the rainy season, or without waiting for substrates to dry completely. The result is waterproofing membranes that appear solid but have trapped moisture underneath.
When moisture is trapped beneath a waterproofing membrane, it has nowhere to go. Over time, it creates pressure, causing the membrane to blister or peel. And the trapped moisture encourages mold growth on the substrate, which is invisible but dangerous. Additionally, moisture prevents proper curing of many waterproofing materials. If a membrane doesn’t cure properly, it never achieves full strength and waterproofing capability.
Moisture Management Practices:
- Allow adequate drying time before starting waterproofing (typically 4-6 weeks for concrete)
- Use moisture meters to verify substrate dryness (typically must be below 4% moisture content)
- Avoid waterproofing during monsoon season or high humidity periods
- Ensure adequate ventilation during curing
- Use dehumidifiers if necessary to achieve proper drying conditions
- Never apply waterproofing over visibly wet surfaces
- Consider using moisture-bridging membranes if some residual moisture is present
The Alino Advantage: Engineering Waterproofing Into the Product
While proper waterproofing technique is essential, the best approach is to use shower systems engineered specifically for waterproofing. This is precisely what Alino.com provides through their premium shower tray systems.
Alino’s shower trays are manufactured with integrated waterproofing—it’s engineered into the tray itself rather than applied after installation. This eliminates many of the common mistakes discussed above. The trays are formed with proper slopes toward drainage, integral edges and corners designed to prevent water infiltration, and materials selected for their waterproofing properties and durability.
By using a high-quality prefabricated shower tray system from Alino, you avoid the variability in on-site waterproofing applications. The waterproofing is engineered by experts, manufactured under controlled conditions, and tested for quality. This provides vastly superior reliability compared to relying on contractor workmanship for waterproofing application.
Alino’s commitment to quality extends beyond the tray itself. Their installation instructions are detailed and specific about protecting and maintaining the waterproofing. Their customer support helps ensure that installation is done correctly. This comprehensive approach—engineering quality into the product, providing clear instructions, and supporting proper installation—is why Alino shower systems have industry-leading durability and minimal water infiltration issues.
Conclusion: Preventing Shower Leaks Through Knowledge and Quality
Shower leaks are a common problem, but they are not inevitable. They result from mistakes in waterproofing—mistakes that can be prevented through knowledge and proper execution. Understanding these seven critical mistakes—inadequate preparation, thin membranes, ignored weak points, poor substrate preparation, insufficient accommodation for movement, moisture trapping, and lack of maintenance—empowers you to demand better work from contractors or to execute proper waterproofing yourself.
The most important principle is this: waterproofing is the foundation of a lasting shower system. It deserves as much attention and quality as the visible tiles and fixtures. Every bathroom leak is a waterproofing failure, not a design problem or an inevitable wear issue.
For the best results, combine knowledge about proper waterproofing technique with quality products designed specifically for waterproofing. A premium shower system like those from AlinO integrates superior waterproofing engineering into the product itself, providing the best foundation for a shower that will remain dry and beautiful for decades.
The money spent preventing water infiltration today will save thousands in damage repair later. Make waterproofing your priority, demand proper technique, and choose quality products. Your future self—and your building’s structural integrity—will thank you.